How to measure 1 mm-diameter tubes or bores using Novacam’s thinnest probes yet
Published on August 7, 2018
This summer, Novacam is expanding our small-diameter optical probe offering to include the thinnest probes yet, with diameters of 0.5 mm! With the newly launched 0.5 mm-diameter probes, quality control specialists in high-precision industries can now quickly and automatically measure spaces with inside diameters as small as 1 mm.
As you may know, Novacam’s 3D metrology systems acquire surfaces using fiber-based non-contact optical probes. The probes are available in a range of diameter sizes, lengths, and models, including side-looking, forward-looking, and rotational. Depending on the needs of each inspection application, the probes are either simply advanced into/retracted out of a tight space during acquisition, or they are rotated inside the space to acquire measurements of the entire inside diameter (ID).
Let’s look at an example of a machined part with interesting internal features.
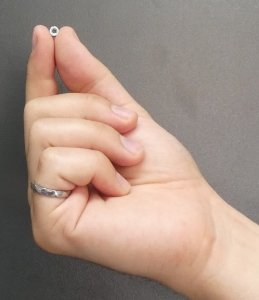
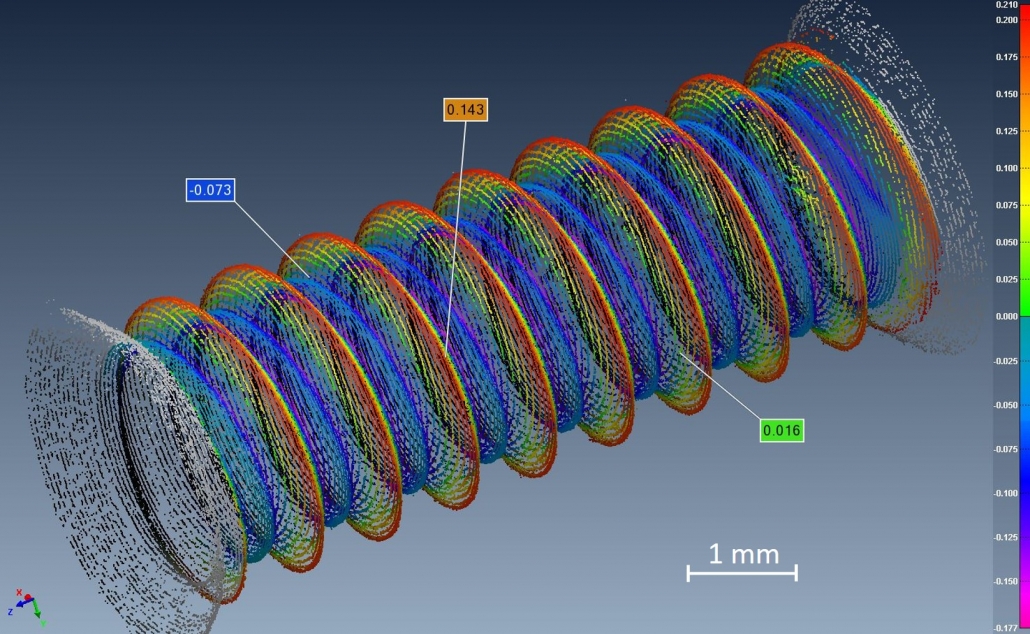
Here we scanned a 1/4″ long threaded hex standoff nut with a #4-40 thread (with minor diameter ~ 0.0849″(2.15 mm)) using Novacam’s TubeInspect system equipped with the 0.5-mm probe.
The acquired point cloud of the ID, comprising over a 1/4 million micron-precision 3D measurements, is shown below. From this point cloud data, application software quickly determines critical inside parameters such as thread characteristics, including:
- the thread pitch (or alternately threads-per-inch (TPI))
- the thread lead
- minor and major diameters, etc.
With higher density scans such as this one, even defects can be easily detected and measured. The user selects the density of the point cloud depending on their application needs.

The 0.5-diameter probe easily enters the above measured hex standoff (#4-40). Here, the TubeInspect system was used, so the threaded nut was spun on a rotational stage while the probe was lowered inside. An alternate approach is to use the BoreInspect system, which spins and advances the probe into the part that remains stationery.
Along with small-diameter probes that reach inside hard-to-reach spaces, Novacam systems offer important benefits:
- Non-contact, non-destructive measurement
- Micron or sub-micron precision
- Efficient scanning – acquiring 2,100 to 100,000 3D points per second – to provide rich data sets for analysis
- Ability to measure even high-aspect-ratio features such as threads, grooves, splines, or steps inside tight spaces
- Versatility of system integration and deployment – including in automated inspection on production floors and in hostile environments (radioactive, very hot or cryogenic).
Novacam non-contact 3D metrology systems perform in many high-precision industries, including aerospace, automotive, medical instrumentation, defense, electronics, biomedical, precision mold-making, machining, and 3D printing. Often, they provide a solution for metrology applications that few others are able to address: non-contact measurements inside bores, drilled rivet holes, injector nozzles, barrels, tubes, shafts, jet engine turbine blisks or fir tree slots, orthopedic implants with inner threads, and more.
While two of Novacam products – the TubeInspect and the BoreInspect – are often the perfect match for inspection applications concerning hard-to-reach spaces, custom solutions are also available.
Do you need to measure surfaces in tight spaces?


