How to measure 3D angles and angularity
Even in hard-to-reach spaces (inside tubes, bores, slots, etc.)
Published on June 20, 2019
Why angles matter
Angle and angularity measurements are key aspect of geometrical dimensioning and tolerancing (GD&T) of industrial parts. Correct angles help ensure that assemblies function as intended.
- Example 1: bevel angles on cutting tools contribute to their efficacy
- Example 2: angles of mating surfaces determine whether the surfaces will fit together and whether a tight seal is achieved
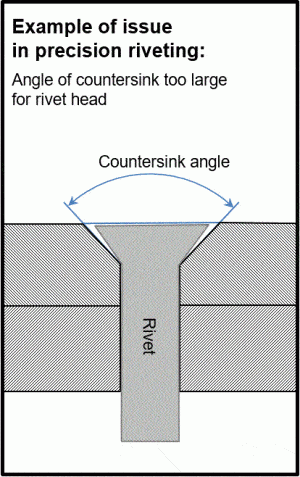
- Example 3: the included angle of a drilled rivet countersink in aircraft assembly is one of several aspects determining whether the head of the installed rivet will be flush with the aircraft surface to minimize unnecessary aerodynamic drag (see diagram).
Versatility of angle measurement with Novacam technology
Novacam 3D metrology systems measure angles and angularity in a range of industries. The systems scan surfaces in a non-contact manner, with micron precision, and at up to 100,000 3D points per second. Thanks to a wide selection of sensor probe models, the systems are versatile enough to measure angles on outside surfaces as well as on surfaces inside tight spaces such as tubes, bores, or slots.
5 examples of angle measurement applications
The samples below were scanned with Microcam 3D metrology systems. We used industry standard GD&T data analysis software PolyWorks InspectorTM for subsequent 3D data analysis including angle measurements.
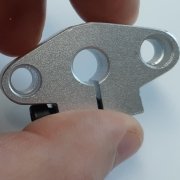
1) Chamfer angles in bores

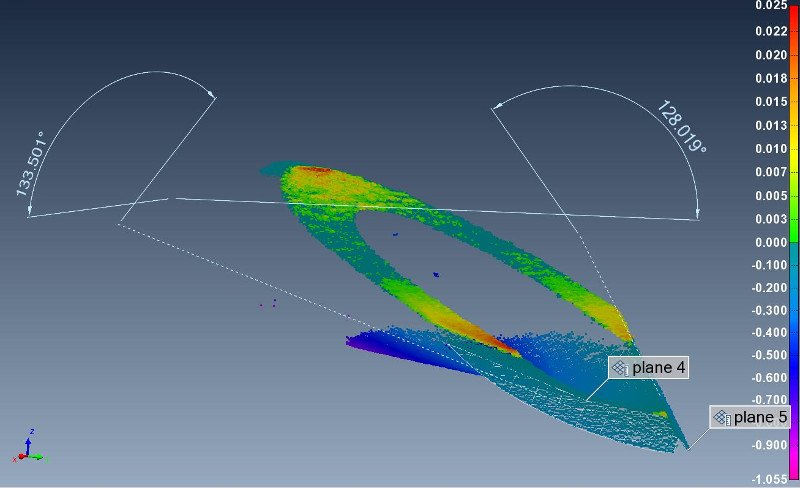
Angle measurements: a) included angle of chamfer on the outer edge and b) angle between inside chamfer (ledge) and bore walls.
Measured on the inside with BoreInspect.
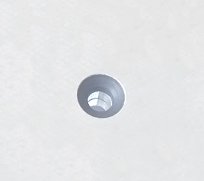
2) Angles of rivet holes and countersinks
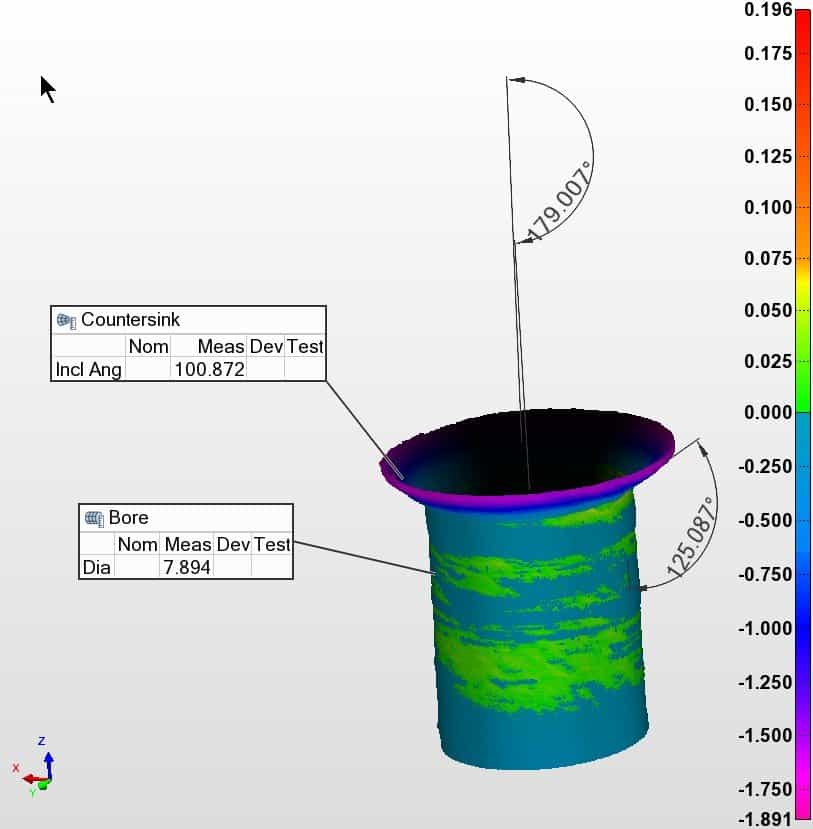
Angle measurements inside a drilled rivet hole: a) included angle of the countersink (100.872º), b) angle between the countersink and rivet hole (125.087º), and c) angle between the countersink axis and the rivet hole axis (180-179.007 = 0.993º)
Measured on the inside with BoreInspect.
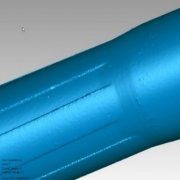
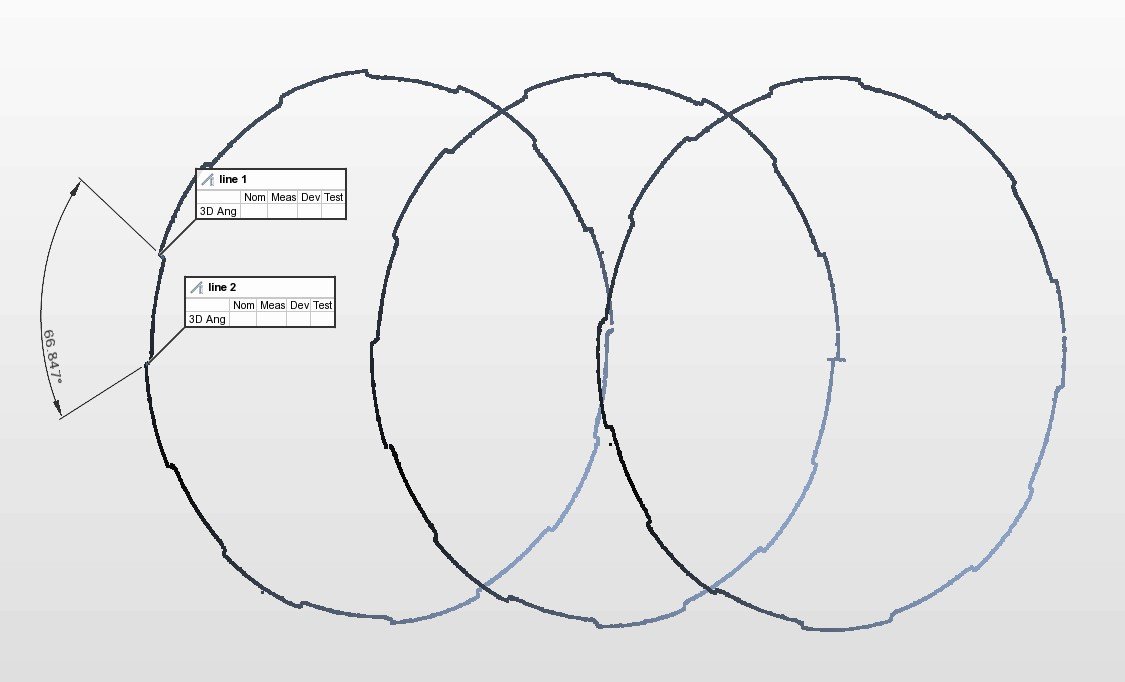
3) Angles along the ID profile of a rifled barrel
Measured on the inside with TubeInspect.
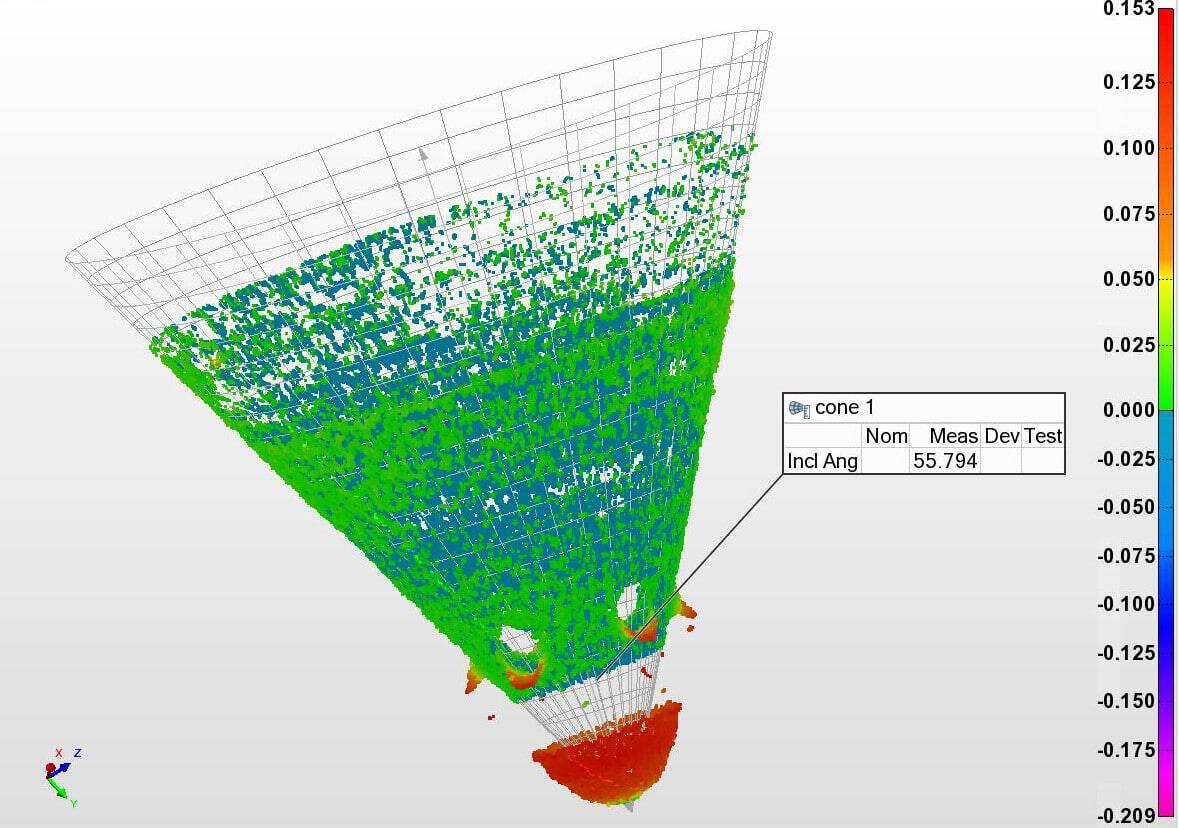
4) Included angle of a conical bottom of a blind hole
Measured from above with SurfaceInspect.
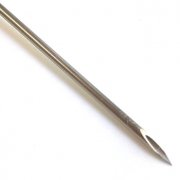
5) Angles of bevels on high-precision cutting tools
Measured with SurfaceInspect.
Other recently performed angle measurements:
- Angularity of bearing surfaces
- Incident angle of cooling holes on turbine blades
Support for automation
With Novacam systems, measurements and data analysis may be fully automated and integrated in inline production lines. Read about the many advantages of the underlying technology.
Do you need to measure angles or angularity?

