News & Events
This page is Novacam’s channel for company news, upcoming event announcements, and 3D metrology insights relevant to professionals in charge of high-precision measurements across industries.
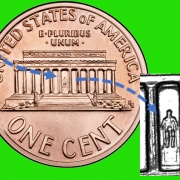
Fast & precise non-contact 3D metrology of surface details – What would Mr. Lincoln say?
/by radkaCheck out 2 measurement scenarios that illustrate the ability of interferometry to capture surface details quickly and precisely.
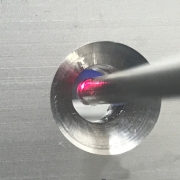
3D countersink measurement – non-contact and automated
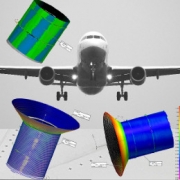
/2 Comments/by radkaAngled surfaces such as aircraft countersinks present a challenge to many contact and optical metrology systems. NOVACAM 3D metrology systems measure these tapered metal or composite surfaces automatically, down to the micron, and in-process. Read about NOVACAM systems’ countersink metrology which is fully suitable to automated robotized fastening operations on the plant floor.
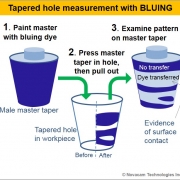
Tapered hole measurement – replacing bluing plug gauges with fiber-based optical 3D metrology
/1 Comment/by radkaInspecting tapered holes with bluing plug gauges is a simple and economical GO/NO-GO technique. However, it is a subjective, estimate-based technique requiring considerable operator experience. Here we briefly describe the bluing process and then look at an alternative approach for taper hole measurements that uses fiber-based optical probes for full and automated 3D metrology of their IDs.
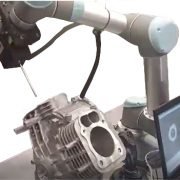
AUTOMATED 3D METROLOGY for the plant floor
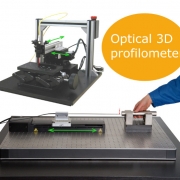
/3 Comments/by radkaSupport for automation, micron-level precision, high scanning speed, versatility and ruggedness of NOVACAM non-contact 3D metrology systems have been appreciated by clients in high-precision industries for over 20 years. Read about support for automation by NOVACAM product line.
Measuring circumferential roughness in hard-to-reach spaces
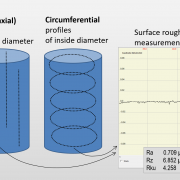
/4 Comments/by radkaMeasuring circumferential (inside contour) roughness in hard-to-reach spaces is a challenge that Novacam systems meet in applications across high-precision industries.
CMP pad and groove measurement in the semiconductor industry
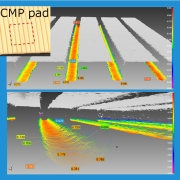
/5 Comments/by radkaMeasuring the tiny narrow grooves that pattern CMP pads in the semi-conductor industry are a particular specialty of Novacam 3D metrology systems. Read about how the high-precision process of flattening and polishing silicon wafers benefits from non-contact 3D measurements that Novacam systems provide.
When roughness is a chore – automated Ra measurements in hard-to-reach spaces
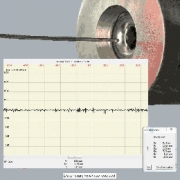
/4 Comments/by radkaMeasuring roughness in hard-to-reach places is a challenge for many manufacturers. To address this challenge, Novacam designs and manufactures optical 3D profilometers that measure inside tight spaces such as ID surfaces of bores, tubes, and cylinders, or bottoms of blind holes, slots, or narrow channels where most other roughness gauges simply cannot reach.
How to measure aerospace rivet holes – 3D non-contact micron-precision measurements
/by radkaFind out how Novacam’s 3D metrology systems support the increasingly data driven, robotized and automated drill-and-fill riveting proces in aircraft assembly.

 Novacam Technologies Inc.
 Novacam Technologies Inc.
 Novacam Technologies Inc.
 Novacam Technologies Inc.