Rivet hole, rivet countersink and rivet flushness measurements
Measuring System: NOVACAMTM RIVETINSPECTTM system
Keywords: aircraft assembly, aeronautics, aviation, rivets, bolts, fasteners, countersinks, 3D industrial inspection
The triple challenge of riveting process inspection
Within aircraft assembly, riveting is a multi-step fastening process that requires tight adherence to design specifications and stringent QA/QC standards. Riveting is also being increasingly automated. Robots with automatic tool changers switch between end effectors for drilling, counter-sinking, fastening, and inspection to carry out a process that has traditionally required significant human skill and experience.
Since defects can and do periodically occur at every stage of the fastening process and since 100% inspection is becoming more of a norm, aircraft makers today require that inspection instruments perform on the following three fronts. The instruments must:
- Measure surfaces that are difficult to access, such as the inside of rivet holes
- Help automate fast defect detection on ALL aspects of the drill-and-fill riveting process – from drilling and countersinking to checking the flushness of installed rivet heads.
- Be versatile and rugged enough to be deployed in process within automated or semi-automated systems right on the aircraft assembly plant floor.
Can these challenges be met by one instrument?
In fact, Novacam manufactures a non-contact 3D metrology system, the RIVETINSPECT system, that delivers on all three fronts.
The RIVETINSPECT system
- Provides complete inspection coverage of rivet holes, rivet countersinks and installed rivet heads
- Obtains non-contact micron precision measurements quickly, at 100,000 3D point measurements per second. The acquired 3D point cloud is automatically forwarded to GD&T and/or defect detection software for instant processing.
- Is rugged and versatile for easy integration into automated in-process inspection.
Here is how the RIVETINSPECT system addresses the important challenges listed above.
1. Inspecting the hard-to-access inside diameters of rivet holes
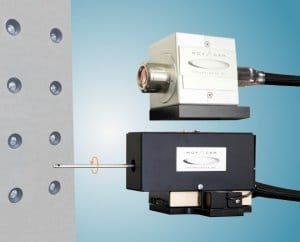
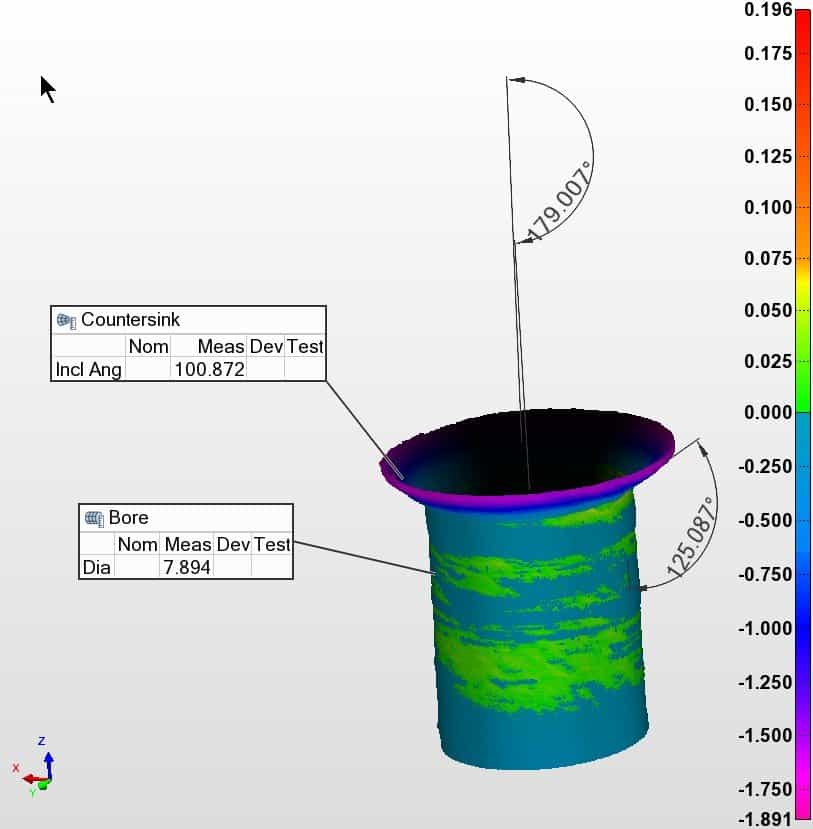
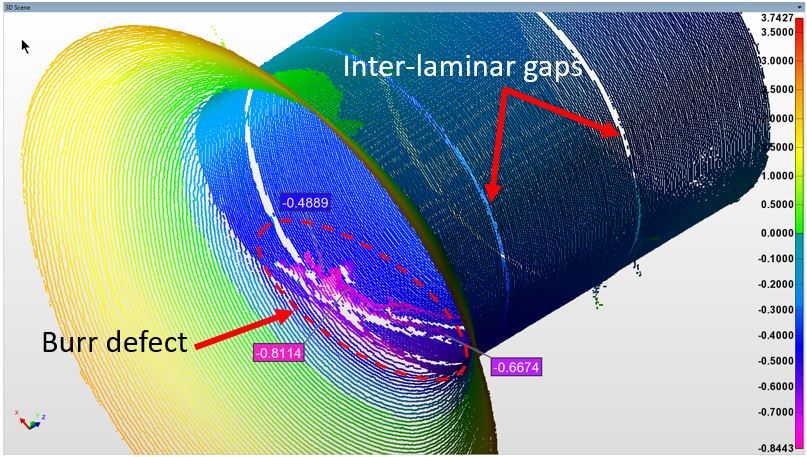
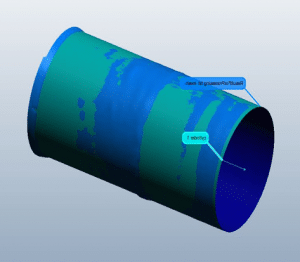
The small-diameter rotational scanning probe of the RIVETINSPECT system easily reaches inside rivet holes to measure their IDs. The probe acquires a 3D point cloud of the ID, providing assembly facilities with the ability to
- instantly obtain micron-precision dimensional (GD&T) measurements
- detect defects such as inter-laminar gaps, burrs, or evidence of tool defects
- measure roughness.
Measurements are obtained regardless of the stack materials – aluminum or titanium alloys, CFRPs, ceramics, or others.
Depending on the included angle of the countersink, the countersink can often also be measured with the same rotational probe as is used for the rivet hole.
2. Automated defect detection on ALL surfaces that count
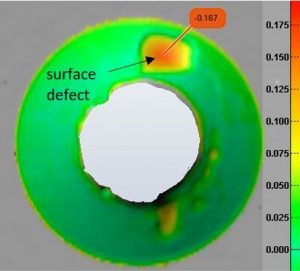
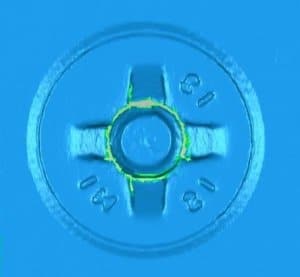
Exterior aerodynamic surfaces on aircraft require that installed rivet heads are flush. To help ensure flushness, the galvo-scanner (the 2nd probe of the RIVETINSPECT system) provides measurements of countersinks and/or the post-installation rivet head area. It scans from above and in a raster pattern, typically covering an area of 30 mm2.
- Countersink inspection: The countersink must be sized and angled precisely to fully accommodate the rivet head. If the countersink was not already measured with the rotational scanner (as described above), the galvo scanner will do it. With the 3D point cloud, conformity to countersink specifications such as the depth and angle of the countersink is then easily verified and surface defects may be identified and measured (see image).
- Rivet head area inspection: 3D surface measurements of the rivet-head area after rivet installation may be used to confirm that the final flushness of the rivet is within the allowable range of 0.002 inch (50.8 microns) imposed by aerodynamics. Also, surface defects around the rivet head, such as skin distortion, rivet removal damage, scratches, or other types of deformation, can be detected.
3. Complete versatility for in-process set-up right on the plant floor
The RIVETINSPECT system is based on low-coherence interferometry technology. It is also a fiber-based modular system, meaning that its two scanners (rotational scanner and galvo scanner) are connected to a single signal-processing detector box (interferometer) with an optical fiber that can be several meters long. As such, the scanners are easily integrated as either robot end-effectors or as 3D vision components in automated or semi-automated systems – right on the plant floor.
See a more complete list of advantages of NOVACAM fiber-based LCI systems.
Additional bonus: timing of drill bit replacement optimized
By analyzing trends in their measurement data, manufacturers gain precious insight into the drilling process. Here is an example:
Given the cost of consumable high-precision drill bits and the cost of the drill-bit replacement process, it makes sense to replace drill bits only once their efficacy has measurably deteriorated.
To establish drill bit wear with RIVETINSPECT system, the acquired 3D rivet hole inner surface geometry is programmatically compared with the design specification shape of the rivet hole. The scale of dimensional variation suggests the optimal time to replace a drill bit, before defects start occurring. With this drill-bit replacement approach, operational savings are achieved.
Related links
Download a detailed application note “Automated Rivet Hole Inspection and 3D Measurement” [13 pages, PDF, 2.4 MB] on how on how the RIVETINSPECT system facilitates inspection of the aircraft riveting process
Contact us to discuss how the RIVETINSPECT system can be integrated in your assembly process.

