OPTICAL 3D PROFILOMETERTM system
for non-contact 3D surface and thickness measurements
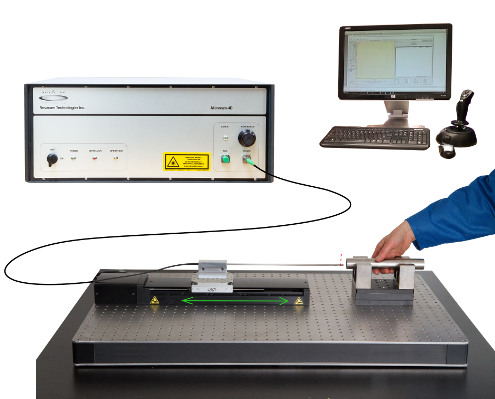
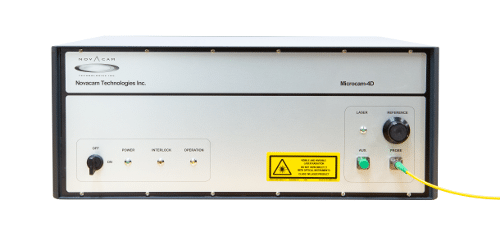
NOVACAMTM OPTICAL 3D PROFILOMETERTM system is fiber-based and provides:
- Micron-precision 3D measurements
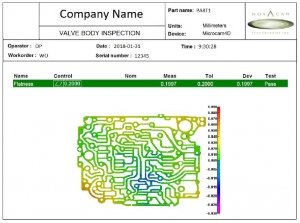
- Dimensional geometry – GD&T parameters
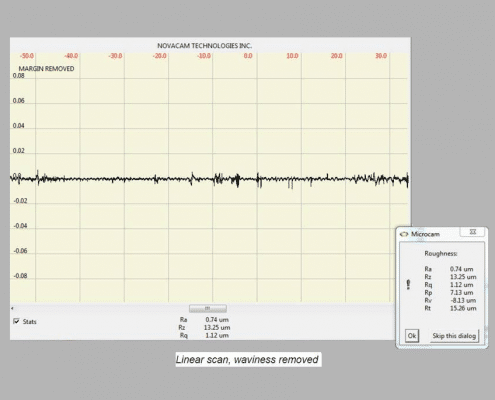
- Roughness measurement
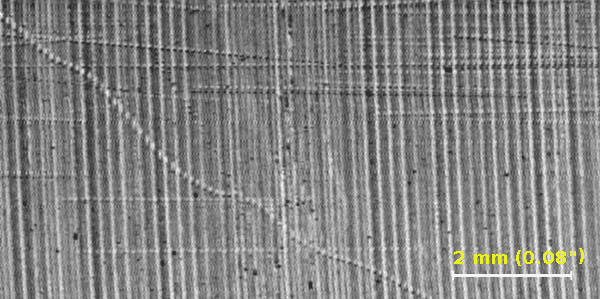
- Defect detection – cracks, scratches
- Thickness measurement of semi-transparent materials
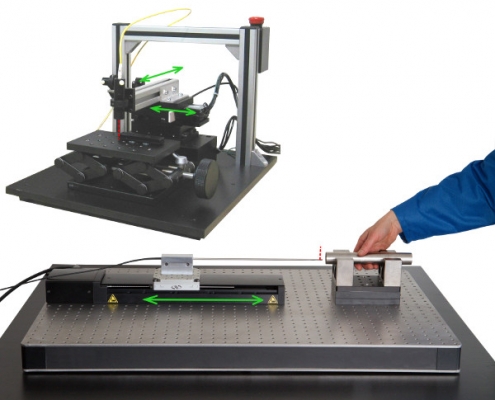
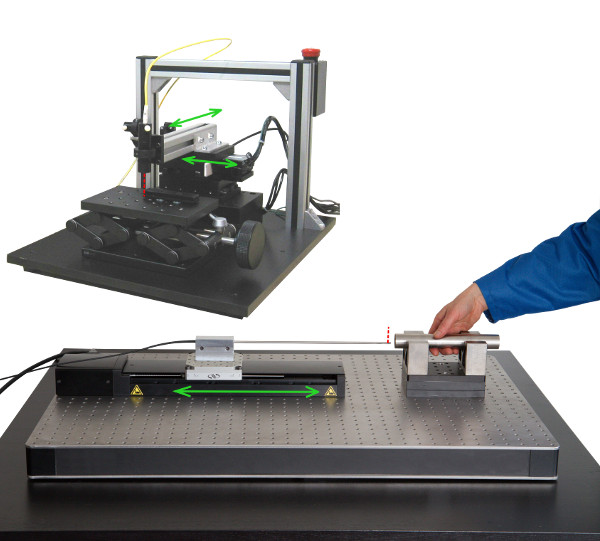
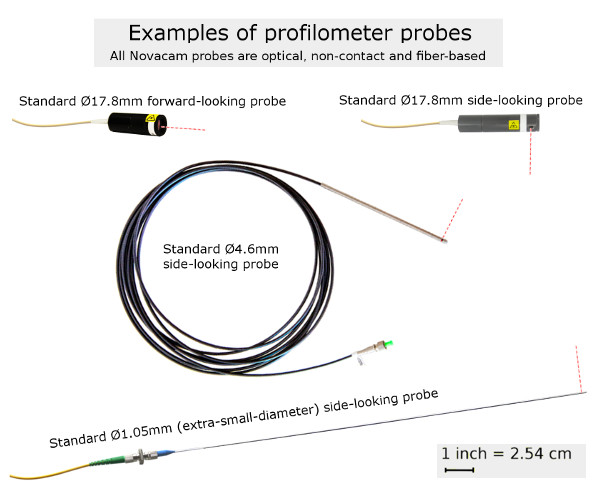
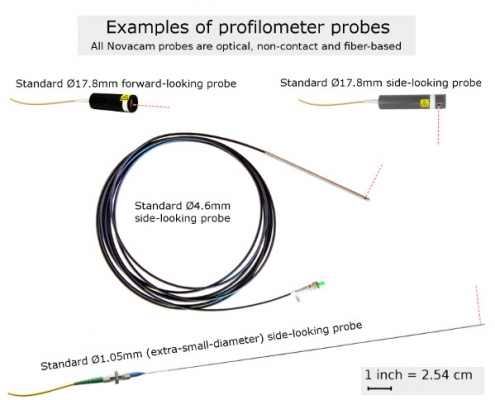
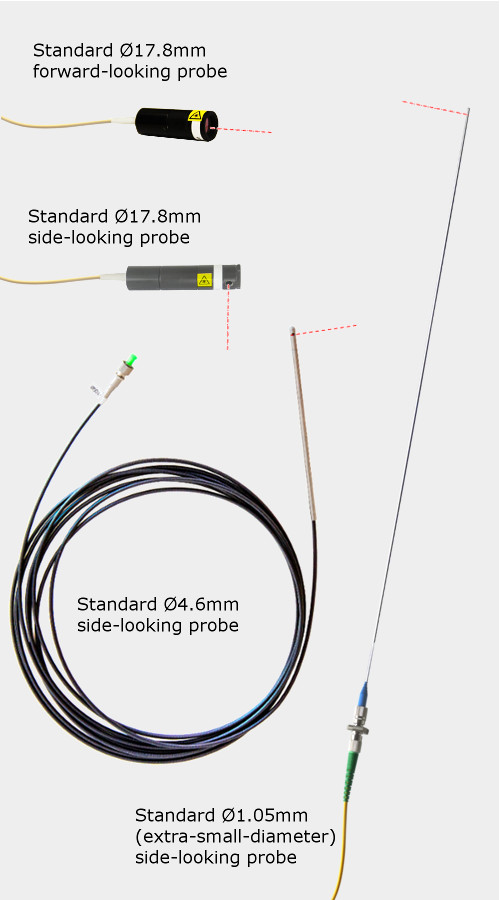
- Option to scan even hard-to-reach surfaces: Side-looking probe scans inside bore IDs and other tight spaces, forward-looking probe is also available
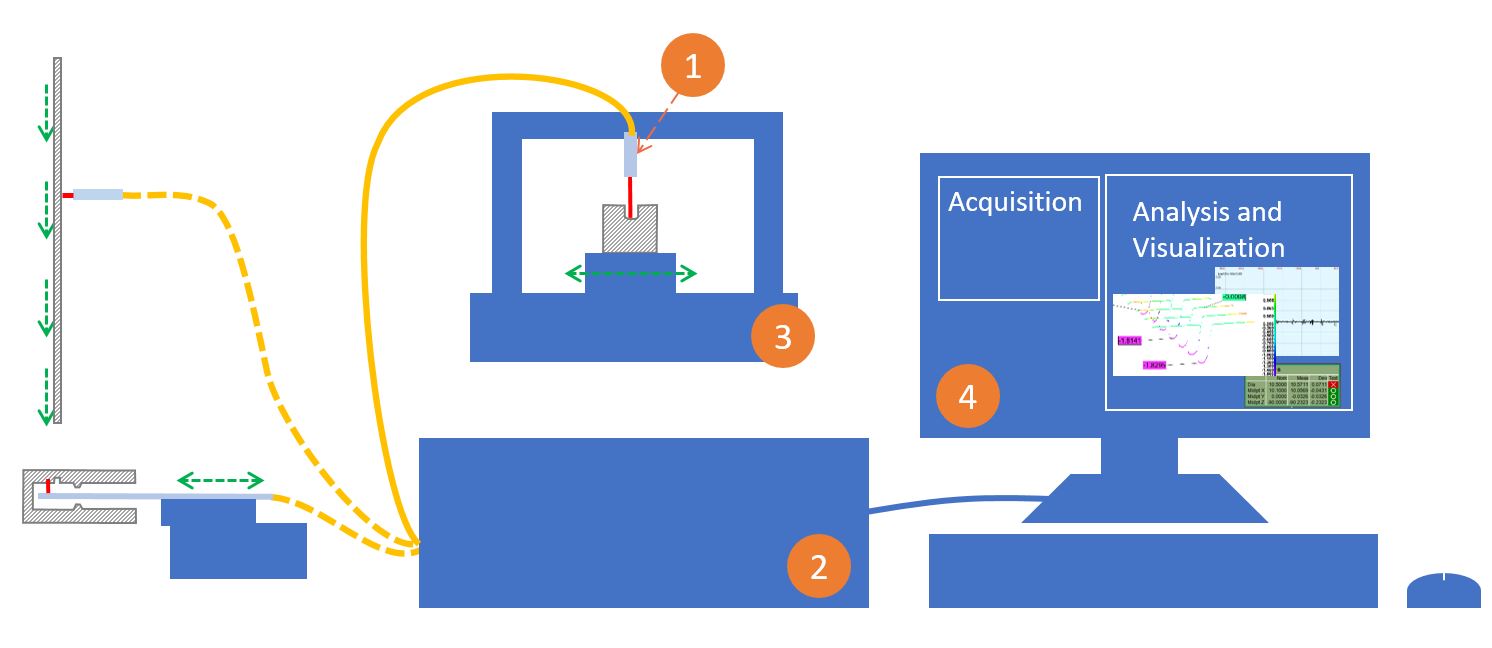
- Fiber-based probes that are easy to integrate with precision stages, third-party CMMs, CNC machines, or robots to support high-volume continuous flow manufacturing
- Fully configurable automated inspection.
Notably the same probe can be used to measure dimensions, roughness, defects, and/or thickness.
Overview of features and benefits
Measurements
- Optical, non-contact, non-destructive
- High speed: Up to 100,000 3D point measurements per second
- Micron resolution, excellent S/N ratio
- 2D and 3D surface and subsurface characterization
- Dimensions, roughness, defects, thickness
- Long stroke profilometry
Imaging
- Surface profiles
- Cross-sections
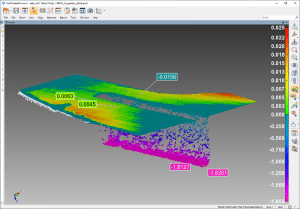
- Volumetric images
Fiber-based probes
- Inspect inside bores, tubes, and crevices
- Provide versatility for high-speed online inspection
Benefits
- Wide range of materials: metal, plastics, polymers, glass, metal coatings, silicone, adhesives; reflective, transparent, semi-transparent, specular, nonspecular
- Wide range of surfaces: measured objects can be stationary or moving, solid or liquid, and include interiors of bores and tubes, exteriors of cylinders, concave or convex spherical shapes
- Small-diameter probes reach in to measure insides of bores and small-diameter tubes
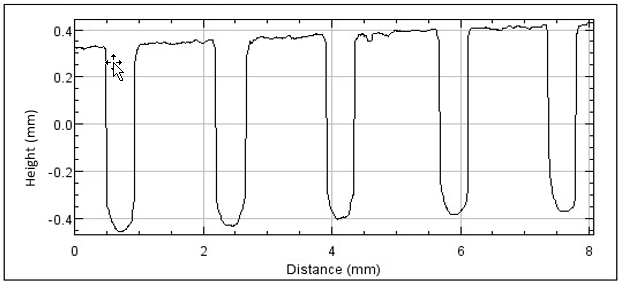
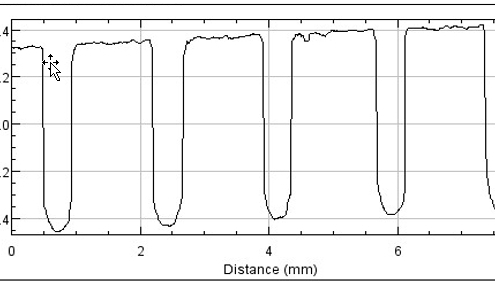
- Measures high-aspect-ratio features: undercuts, cross-holes, chamfers, rifling, threads, O-ring grooves, and edges
- Reduced inspection cycle time: up to 100,000 measurements per second, each representing a 3D topographic point
- Versatility of setup: Non-contact probes work up to 1 m away from surface and several meters from the interferometer
- Continuous, long profile scanning: no area stitching required
- Flexible options for evaluating inspected parts: measured features can be compared to CAD drawings or to a user-defined set of locations, nominals, and tolerances
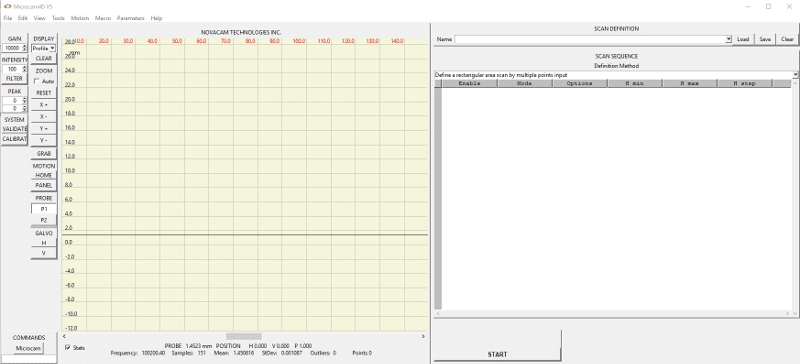
- Simple scan definition and execution: The scanning sequence is defined once by teaching the system with a joystick. The scanning sequence can later be executed with the push of a button.
- Time-saving automated reporting: Following a scan, go-no-go reports can be produced, and results logged in a manner compatible with industry-standard mechanisms
- Easily integrated in lab, shop, or fully-automated inspection setups: probes may be mounted on XY tables, on multi-axes scanning mechanisms, inside machining centers, above moving webs, on robot heads, etc.
- Adaptable to hostile environments: radioactive, very hot, cryogenic, vacuum, etc.
- No consumables are needed: Optical probes do not come in contact with the measured samples, and therefore do not wear out like contact probes
- USB connection for data transfer from interferometer to PC or laptop
- Option of multiplexing several probes with single interferometer for additional return on investment (ROI)
See related applications:
Contact us to discuss your application needs

